Recently, Jacques has been flying a WW1 biplane and having a ball with it … A friend, Glenn, and he were mock dog fighting one morning and Jacques got his tail buzzed off and crashed. Upon hearing the story, I told them both “I’m in!”
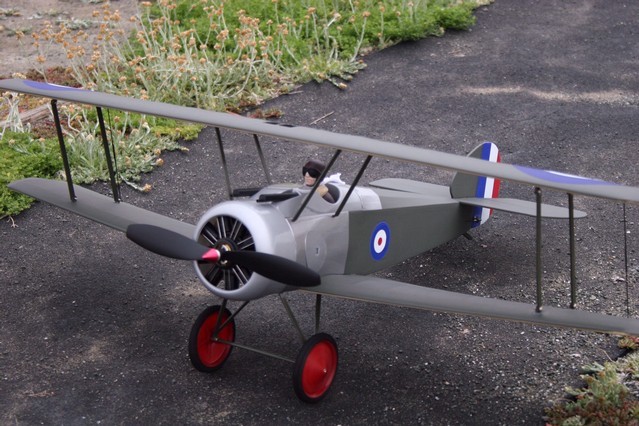
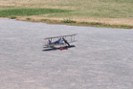
Having never owned a WW1 biplane, I was intrigued by the scale look, slow yet challenging flying and the fact that it would be something totally different than anything I currently fly. So, a Great Planes Sopwith Camel ended up finding its way to the hobby shop and onto my building board (in this case, the front counter).
A quick peek at the instructions showed the kit to be a very straight forward to build … Yes, there’s an extra wing here, and a bunch of struts, but overall the kit seemed well thought out. I liked that the cowl is held on with magnets, the easy way the wing struts bolted on, etc …
One thing that disappointed, was the covering job. It left something to be desired, looking more like a loose fitting, baggy sweater that came out of the bottom of the drawer, not a nice tight frame hugging job that it should have been. So, about an hour was spent, slowly shrinking it to what it should have been. A heat gun and iron were used. With the light weight airframe and decals, time must be taken to carefully shrink the covering to avoid warping or peeling. This is easier said than done.
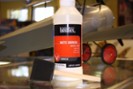
The covering is a standard British paint scheme used at the time … Kinda boring, but it works. What didn’t work, was super shiny monokote covering. Jacque had used some clear Liquitex matte paint (from a craft store) on his Spad, which really turned out nice. So, I decided to give it a try myself. Two coats were applied, with a foam brush. It really made the plane look much more scale to have a flat finish! I still haven’t decided what to do to dress it up a little, that will be a future project. I used the suggested motor, prop, and servos, varying only on the esc (using a Castle unit I had from another project). Other than the minor changes made, the build was straight forward.
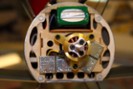
A couple things of note: After shrinking the covering, double check for warped parts (wings and tail). If you install the pushrods on the engine, be prepared to spend time with a Dremel grinding them so they do not hit the motor. Check the C.G. carefully, this is tricky with a biplane. What the instructions call for is a little off, I’m at 2.5 ounces of nose weight and thinking a little more might be needed.
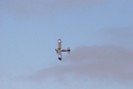
Be prepared for a thrilling first flight. I was very lucky to get things under control and have the plane land in one piece. I fought a tail heavy plane, and a slightly warped elevator and lower wing … Fun stuff for sure! But, after fixing those , the 2nd flight was much the same! Only adding a heavy loading of lead into the nose calmed the plane down, and now it’s flying as expected.
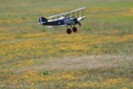
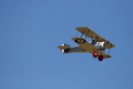
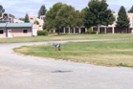
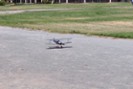
Overall, I can’t wait to get more flights on this plane! It looks great in the air, there’s just something cool about biplanes. Landing and taking off with the tail dragger will take some practice, there’s no rear wheel for ground steering and this thing turns into the wind like a weather vane. Biplanes have a totally different feel when in the air, “quirky” would sound about right explaining it.
I would suggest this type of plane for a more advanced pilot, with tail dragger experience.
| |||||